

If you’ve joined Flocksy, you’re probably hoping to streamline your marketing processes and make your life easier. Luckily, Flocksy integrates with Zapier, a popular tool used to automate common processes and cut time-consuming tasks to mere seconds.
How Does Zapier Work?
Zapier, an online automation tool, connects commonly used apps and services to automate repetitive tasks, streamlining your workflows. Here’s a breakdown of how Zapier works:
- Zaps: Zaps are the basic building blocks in Zapier. A Zap is an automated process that connects two or more apps. Zaps comprise a trigger and one or more actions, which we will explain further below.
- Triggers: A trigger is the event that puts a Zap into motion. For example, a new email in Gmail or a new row added to a Google Sheets spreadsheet can be triggers. When the specified event occurs, it triggers the Zap to run.
- Actions: An action is the event that the Zap performs after it is triggered. For example, creating a new contact in Salesforce, sending a message in Slack, or updating a row in Google Sheets.
- Multi-step Zaps: Zaps can include multiple actions, allowing you to build complex workflows. For example, when a new email arrives, you might add the sender to a Google Sheets spreadsheet, send a Slack message, and create a task in Trello.
- Filters: Filters can be used to set conditions for when actions should run. For example, you can specify that actions only run if the email subject contains certain keywords.
- Paths: Paths allow for branching logic within a Zap, similar to “if/then” statements. Depending on the conditions met, different actions can be taken.
- Integrations: Zapier integrates with over 3,000 apps, including popular tools like Google Drive, Slack, Salesforce, Mailchimp, Trello, and more. This allows you to connect almost any combination of tools you use.
- Templates: Zapier provides pre-made templates for common workflows, which can be used as a starting point. These templates help users quickly set up Zaps without having to build them from scratch.
Here are the steps to signing up for Zapier and connecting it to your Flocksy account!
Step 1: Sign up for Zapier
- Go to Zapier.com.
- Use your email or Google account to start a Zapier account.

Step 2: Find Flocksy Zaps
- Once you’ve signed up, you can go to the main dropdown menu on the left side.
- Click the “Zaps” option. In the search bar at the top of that page, search for “Flocksy.”
- Click “connect” to add your Flocksy account.

There are also lots of existing Zaps you can use to make your workflow more automatic.
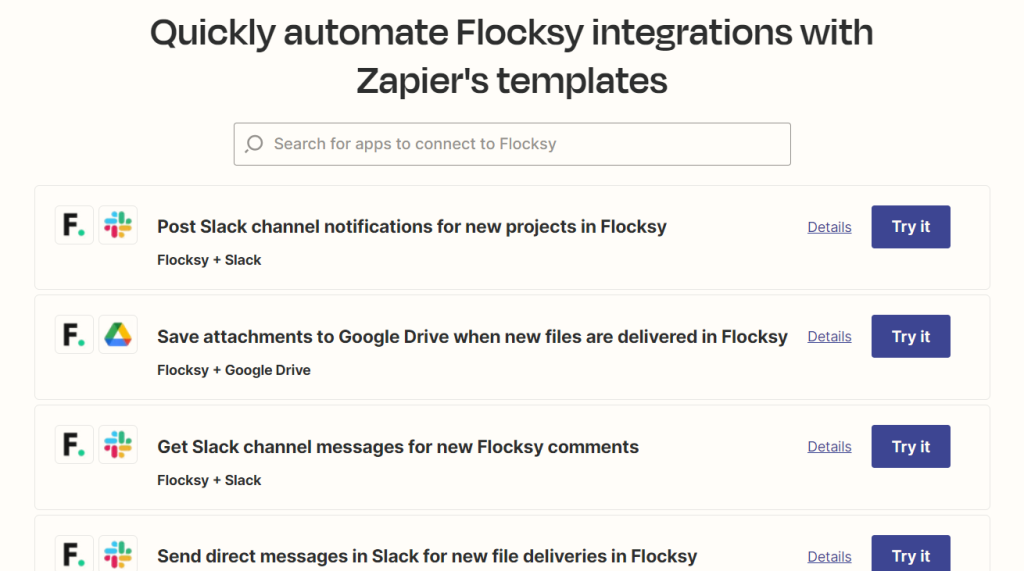
For example, you can use Zapier to send your Flocksy project files to Google Drive automatically. Let’s walk through that next!
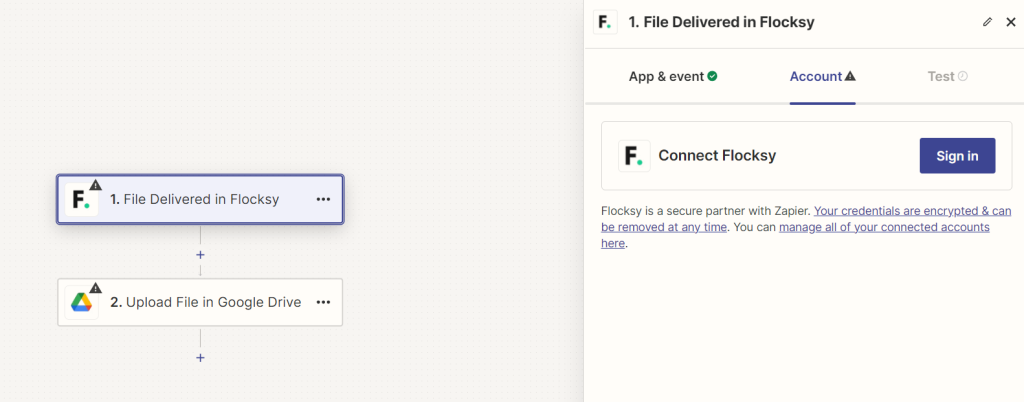
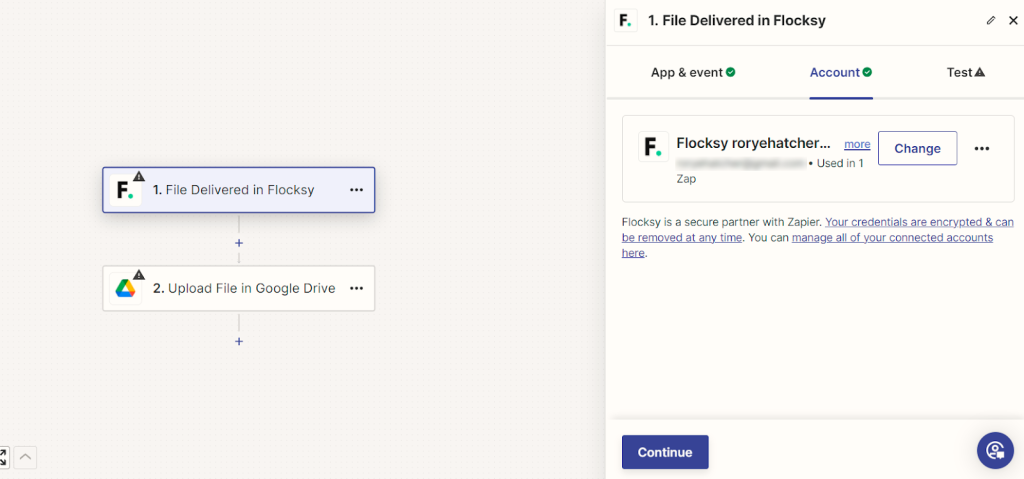
Step 3: Connect your Flocksy account
- Click to sign in to your Flocksy account.
2. Zapier will ask you for permission to access your Flocksy account. Click “authorize.”
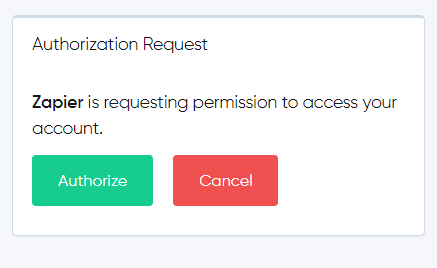
3. Click “Continue” to keep setting up your Zap to send your Flocksy project files to Google Drive automatically.
Step 4: Connect Your Google Drive Account
1. Next, connect your Google Drive account where you want files to be uploaded.
2. Adjust the settings, such as the folder to upload them to, the file format, etc.
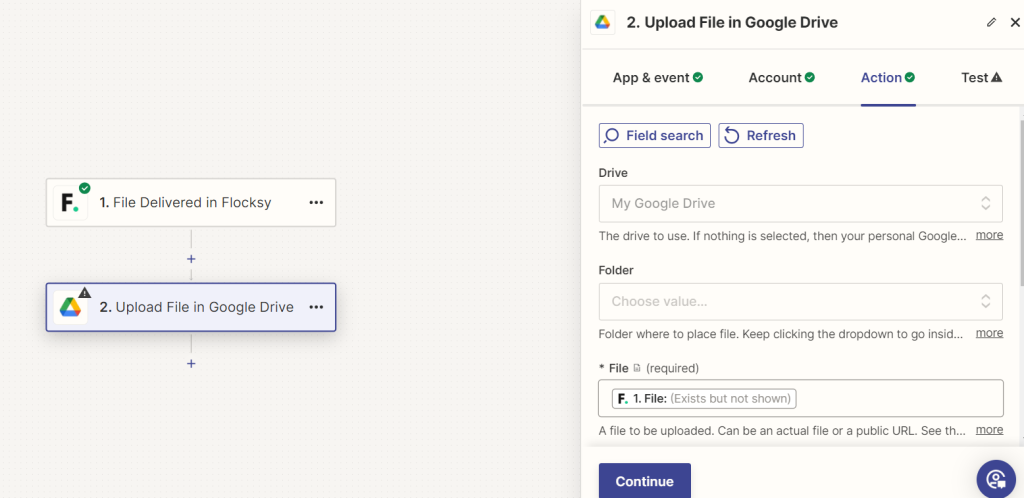
3. Zapier will send a test file to your Google Drive. Make sure that works, and then you should be ready to go!
Hit “publish,” and you’ve just automated a step in your Flocksy process! Congratulations!
What is Field Mapping?
Field mapping in Zapier is the process of connecting specific fields from a trigger app to corresponding fields in an action app. It involves selecting and aligning the data from the trigger to the appropriate fields in the action, ensuring the correct information is transferred. This step, which can be confusing for new Zapier users, is crucial for ensuring that the automated workflow accurately reflects the intended data transfer and operations.
When you establish your Zap’s action, you can include either static or dynamic values in the procedure’s fields.
Static values: Enter a value into an action field or choose an option from a dropdown menu so the Zap delivers the same data to your action app every time it runs.
Dynamic values: Link an input from one step to another step in your Zap so the Zap provides an alternate outcome to the second step every time it runs.
The action of utilizing dynamic values is known as field mapping When you map fields, the information provided in the second step changes dependent on data from the prior stage.
How to Map Fields in Zapier
- When you are setting up a Zap, and you want to map fields, first click on the field you want to establish.
- In the dropdown menu, pick one or more fields from a previous step that has the information you want to use.
Limitations
You can only map fields from one stage to the next. Fields cannot be mapped from a later phase to a prior step.
If you rearrange or duplicate action steps or pathways inside a Zap or copy and paste triggers and actions across Zaps, you must re-map your fields in those steps.
When a step fails, it does not provide any output.
Any fields in succeeding stages that are mapped to the failed step will not receive any data, including error handlers.