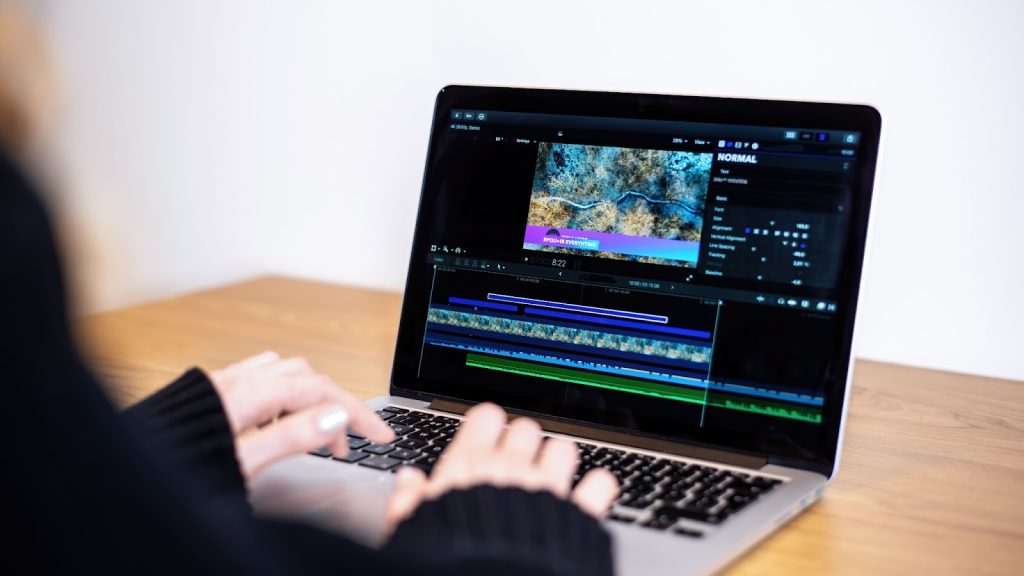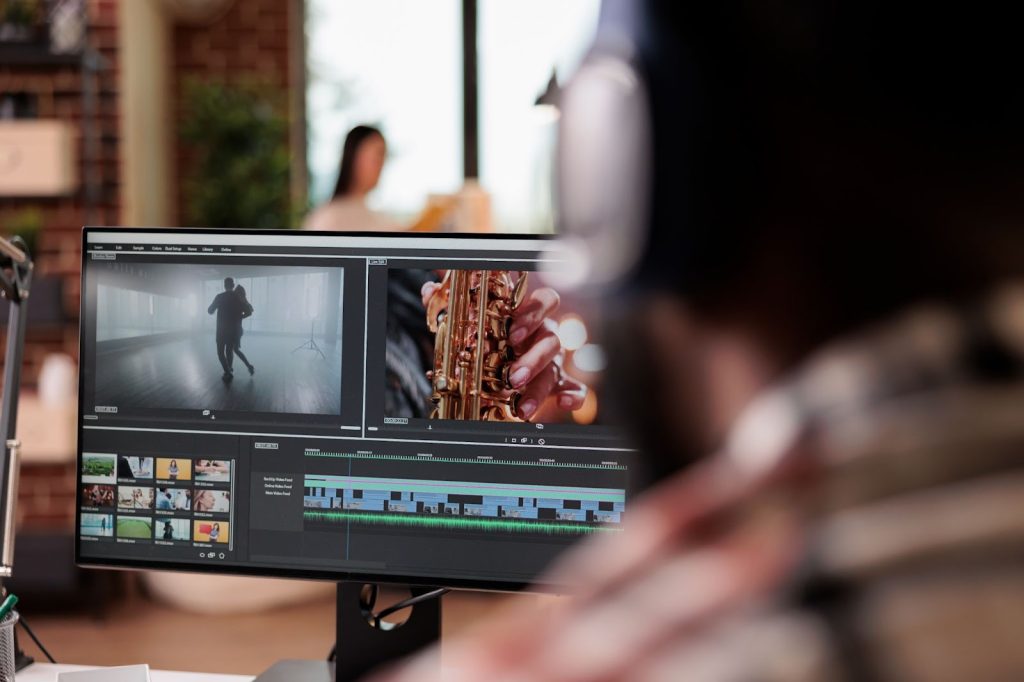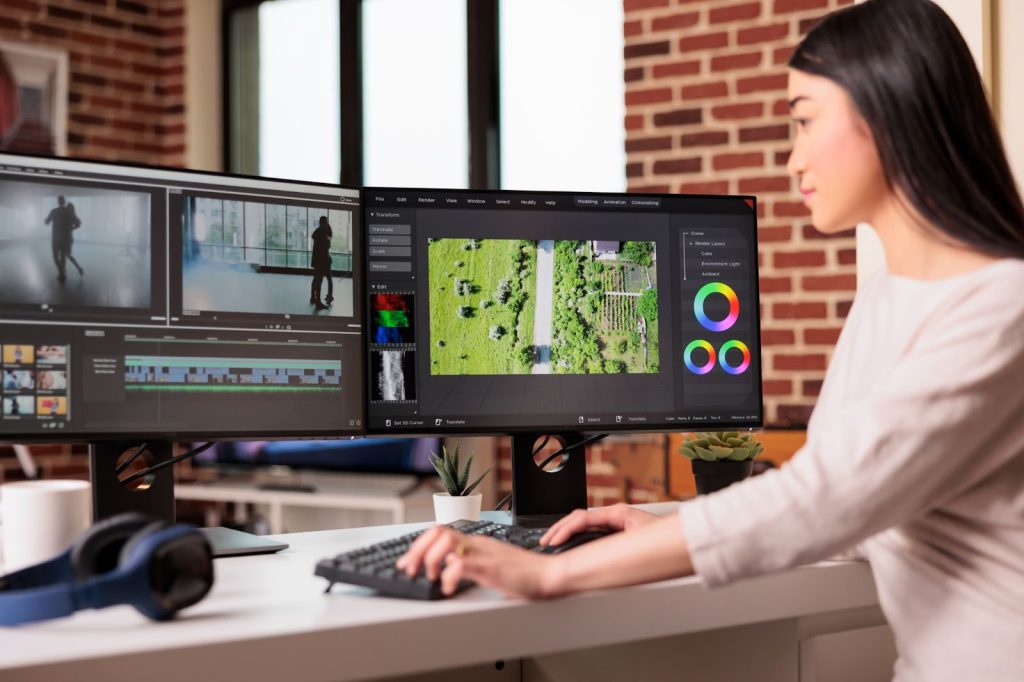
Getting started with video editing might seem overwhelming, but it doesn’t have to be.
Whether you’re looking to create simple videos for fun or dive into more serious projects on a more professional level, understanding the basics can make the process much easier.
This blog will walk you through the key steps, from picking the right device and software to organizing your content and adding the finishing touches. By the end, you’ll be ready to start editing your videos with confidence.
Choosing a System to Work On
There are many possibilities when it comes to choosing a device to do your video editing work on. You could use a desktop, Mac computer, gaming computer, phone, tablet, or laptop. However, whichever choice you decide to go with may impact the software and content options you have. The higher-end desktop options typically have fewer limitations and are better equipped for more professional video editing work.
Finding the Right Video Editing Program
Before jumping into the video editing process, you should decide which software you want to use. This may depend on your level of experience, the cost, how easy it is to navigate, and the system you plan to use to do the editing. There are many software options to choose from. However, some of the most popular options include Adobe Premiere Pro, Final Cut Pro, DaVinci Resolve, and iMovie.
Planning and Organizing Your Content
Whether you are editing clips that have already been filmed or you need to begin filming content on your own, it can be very helpful to make a general outline of what you plan to do ahead of time. This will help you get a better idea of what you want the final product to look like and can help guide you through other decisions to achieve that final product along the way.
This will also save you time when you get to the actual video editing process because you will not have to dig through tons of content to determine what should come next. Make sure you remember to include a plan for other non-video-specific content as well, such as any voiceovers or background music.
Making Storage Space

The files required for video editing can quickly add up to taking a lot of storage space. To avoid issues later on down the line, make sure what ever device your are editing on and saving files to has enough space available for the audio, video, photos, the final product, and wherever else you need ahead of time. Additionally, hard drives that are full or are almost full can also slow down the speed of your device.
Find Tutorials for the Target Type of Content
Finding tutorials ahead of time for projects similar to the ones you hope to do can be helpful for both beginners and experienced editors alike. Not only will it show you how to do particular things, but it can also offer you inspiration for the content that you are making.
Many free tutorials are available online, whether on YouTube, in articles, or from other websites specializing in software and video editing content. Since, ideally, you should have the software that you plan to use already picked out, make sure you look for tutorials that apply to that specific software.
Putting Together the Files
After you have a good idea of the intended end result of your content, it is time to start putting together content files. This can be similar to the files you see set up in tutorials or in a different way you prefer to be organized.
One tip that many video editors find to be helpful is what is referred to as the “321 Rule.” This backup storage rule simply means having three copies of all content within a minimum of two different places and in at least one location where the data is being remotely stored.
Initiating the Editing Process
After all files are set and ready to go, you can initiate the video editing process. At this point, you can begin trimming down clips to make them easier to work with and begin mapping out where you believe all of the content should go. The more organized you are, the easier this step should be.
Another rule that may help you along with this step is notable film editor Walter March’s “Rule of 6.” This includes emotion, story, rhythm, eye trace, 2D screen plane, and 3D space.
More simply put, this means to think of the emotion you want to create with your content, create a meaningful story, consider the rhythm, examine where the viewers’ attention will be drawn, look at the spacial orientation of what is on the screen, and make sure it is visible where objects are in relation to one another.
Finding the Right Transitions
Once all of the video clips have been trimmed and put in the order you wish them to go in, you can begin thinking about transitions. Sometimes, transitions are not needed – for example, when you are transitioning between clips within the same scene.
However, if there is more than one scene being edited together, you may want to consider transitions to help give your video a smoother and more professional appeal.
Some of the best transitions to use include dissolves and crossfades because they do not distract from the overall content and can be very subtle.

Color Correction and Grading
Although color correction and grading may be more commonly associated with photo editing, they are also a big part of video editing. This helps make your video appear to be more uniform and stand out. You’ll want to adjust the contrast, temperature, exposure, saturation, and white balance.
Depending on the type of video you are making, you can also use color to exhibit certain themes and tones. For example, consider the famous movie “The Matrix.”

This movie uses a color palette primarily of green hues to communicate a sense of a virtual realm. Other movies like “La La Land” use a range of color schemes depending on the scene to convey different emotions.
Adjusting the Length

Tying back into March’s Rule of 6, once you feel that everything you want to be included has been laid out, it is time to go back through the content and make any additional trims that are necessary to keep a good flow.
In other words, if you are editing a sports video or something that is more action-packed, you may want to trim the video down so it can keep up with a faster pace. On the other hand, if you are making a video that’s more cinematic, you might want to edit your film to make sure it is a slower, smoother pace.
Different paces reflect different tones. The goal is to make sure that no clips are being dragged on too long or ending too abruptly.
Finding Background Music
Depending on the type of video you are doing, you may not need background background music. However, if you are looking for some, there are a few different good places to look. What you should choose depends on your budget and what type of music license you are looking for. The a couple of main types of music you can use include:
- Royalty-Free Music
Royalty-free music may used for both personal and commercial videos. However, you usually have to pay an organization ahead of time to begin using the music. After it is purchased, you are free to use it as much as you like.
- Music in the Public Domain
This type of music is available for all public use and isn’t a part of any copyright. This music is usually free to use, no matter if you intend to use it for a personal video or for commercial use. Additionally, if you want to remix or make edits to this music, you are free to do so as well.

You can also use music from Creative Commons. This nonprofit platform is designed for users to have access to free standardized copyright licenses as long as they credit the creators for their work.
One thing to be careful about when using the platform, however, is to be sure you are crediting the creator correctly in adherence to the six different possible license categories. Half allow for the music to be used for commercial use, and the other half do not.
Making Final Sound Adjustments
Sound can make or break a video. Once the video is put together in the order and length you think it should, it is time to focus on fixing the sound.
This doesn’t just mean adding in any extra sound effects or background music you may want to add but also fixing the sound content you already have.
Transitions – just like for video – are very important for sound. This is how you can make sure your audio flows smoothly and does not get interrupted.
Some of the more common audio transitions are fade-in, fade-out, and cross-fade effects. In addition to the transitions, you’ll also want to make sure all of the sound is equalized and has the intended volume levels. This ensures the scenes flow well together rather than the viewer having to constantly adjust the volume for louder and quieter scenes.
Exporting the File
Once you have an end result you are happy with, it is time to export the final product. The export option should be within the platform you choose to use.
To determine which format to export the file in, first consider which output format you are looking for, whether it is a .webm, .mp4, .flv, .wmv, or .mov. file.
This may depend on where you plan to upload the video or, if you are working for a client, what their intended use for the video is. Remember, different platforms support different uploading formats.
Conclusion
Starting your journey in video editing is all about taking it step by step. By choosing the right tools, planning your content, and following basic editing techniques, you can create videos that look polished and professional.
The more you practice, the better you’ll get. With the tips in this blog, you’re now prepared to start editing and bringing your video ideas to life.