Resources · Graphic Design
5 Creative Photo Editing Tips For Graphic Designers To Improve Their Skills
By William Hudson
September 7, 2021 · Updated April 27, 2022 · 5 min read

If you’re good with layouts and graphic manipulation why do you need to know how to adjust photos? Isn’t it the photographer’s job to get the picture done correctly? Why bother learning to do somebody else’s work for them? The answer, of course, is that it’s your design and you may not have the option of ditching the photo. Image manipulation is a skill set a designer should have. Let’s look at five techniques a designer may find useful to know.
- Does a designer need to know photo manipulation?
- What’s the best way to resize and retouch images?
- Do brightness and contrast have as much affect as color changes?
- Where do you start with photography adjustment?
Every graphic designer is familiar with using photos as an element within their layout. Quite often a picture is the main focus of the design. It may hold significance for the client or illustrate a point dramatically. The photo may carry so much weight that it dominates everything else and becomes indispensable. For an item to be so vital it seems imperative a designer be trained to adjust and manipulate it as they choose. To have complete control in the design world a graphic artist must know how to alter and augment pictures at will. There are five forms of photographic manipulation a graphic designer should be fully comfortable performing. We list and discuss them below.
1. Cropping
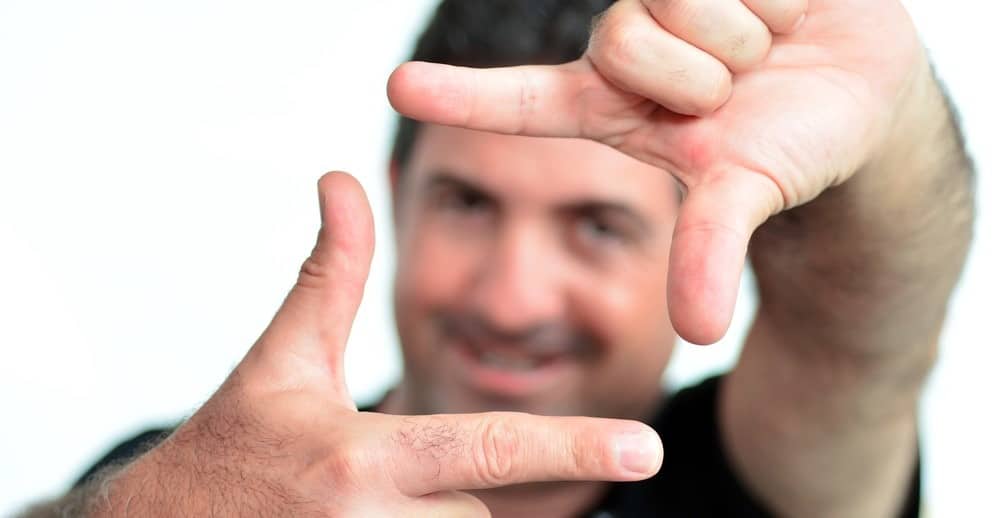
This form of manipulation involves changing the dimensions of the image itself. The photo may need to be shifted on its axis to give it better perspective. There is a natural balance that every image must have visually. It may need adjusting because of the relationship of objects within the frame regarding their width and height. It may be in need because of the relationship from foreground to background.
There’s also the matter of how close objects are to the edge of the frame. There could be too much room or too little. One way to adjust is an artist may increase the size of the image but leave the frame edges where they are. This pushes certain elements beyond the frame, and out of view. Unfortunately it may also make the image more grainy or indistinct.
Another cropping method that gets around that problem involves leaving the image size alone and bringing the frame edges closer. This makes the overall image size smaller, but doesn’t affect the actual dimensions of the internal elements. Any cropping, rotating or resizing depends on how much the artist is able to manipulate the photo and retain the affect they want for their design. Like all artistry it’s a matter of taste and discretion, left solely to the needs of the designer and their clients.
2. Remove Blemishes
A blemish is anything within the photo that the designer thinks mars the photo’s beauty. This may be an imperfection on the model or main subject. It may be something amiss in the foreground or in the background. Correcting such problems can be done in any number of ways. The imperfection can be blurred or digitally painted over. It can be smeared so that it blends with the environment. A more sophisticated approach is to softly clone an area near the imperfection then overlay it to cover the blemish. This is one of the prime retouching tricks to get rid of skin blemishes on a photographic model.
3. Adjust Contrast And Brightness
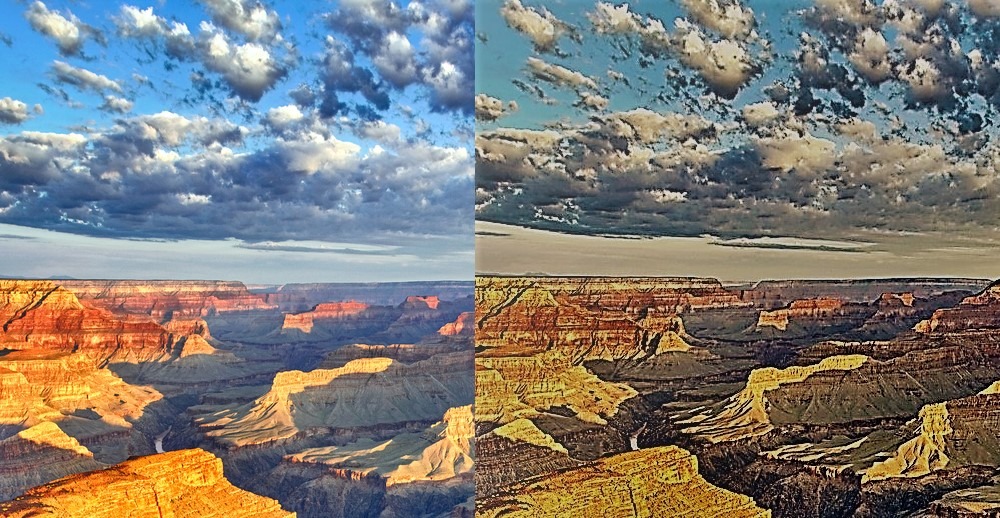
Once resizing and blemish correction is done, it’s time to proceed with adjusting the image quality itself. The first place to start is with brightness and contrast. If the image is too dark or too light, it can be adjusted to increase or decrease the intensity of shadow areas. One useful trick is to do a rough overall adjustment, then use soft masking to make discrete changes to problem areas. You may want to lighten one area but leave the rest of the photo alone. If you have a subtle enough mask you may be able to make the change and blend its effect with everything else.
4. Adjust Tone
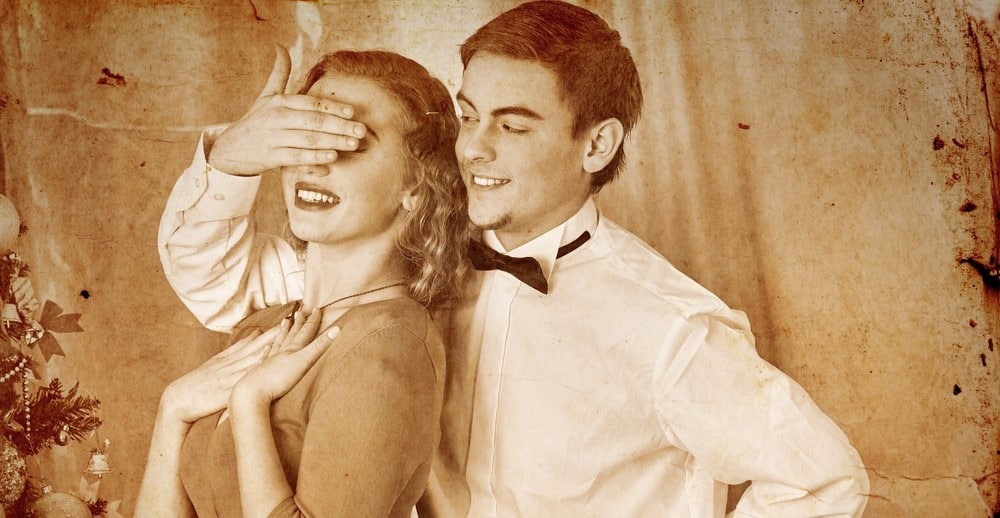
This is a combination of overall gradation and shadow levels. It is shadow that gives a sense of depth and subtlety to an image. The more detail you get in the shadow area, without it being too grainy, or without losing the shadows altogether, the more ‘rich’ we sense the photo to be. Likewise, an overall color or contrast tone delivers an impression about the ‘attitude’ of the picture. We’re all familiar with the much used (and often overused) ‘sepia tone’ effect. It’s a technique of casting an overall light amber or reddish-brown tone to an image.
We associate that effect with antique photography or aged photos. In a similar fashion a brighter, hazier bluish hue implies a frozen television picture. Both effects are extreme, but they illustrate how a change in color or brightness tones makes you think an entirely different way about an image. Doing more subtle versions of these changes with an image can enhance the photo and make it seem more ‘vintage’ or more ‘corporate’.
5. Adjust Color Saturation
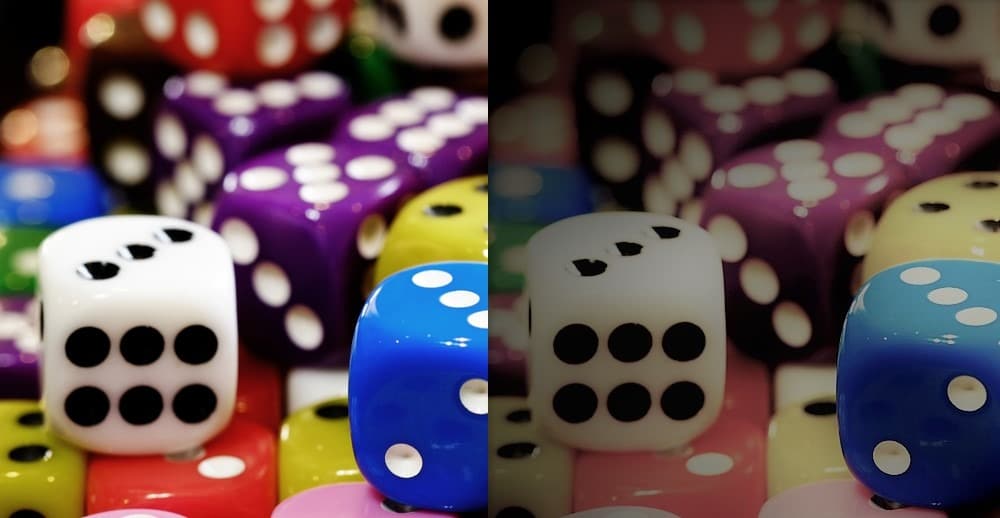
Adjusting color depth is something you should do carefully. Color reproduction is one of the first elements to suffer when images are adjusted badly. Colors mix improperly or ‘fight’ one another if you change the hue or saturation too drastically. Most people have experienced how easy it is to make your subject green or purple with only the slightest adjustment on a monitor or mobile screen. Well-saturated color makes an image vibrant and realistic. De-saturation makes the colors appear pastel. They wash out the image and make it look somber. An over saturated image can look garish or ‘cartoony’. Once again, subtle changes are usually the preferred way to proceed.
Repeat Or Change Where Necessary
Even though we call these five adjustments ‘steps’, there’s nothing to prevent you from doing them in whatever order you like. The real artistry lies in mixing and matching your adjustments. Manipulate, redo, undo and re-save as often as is necessary. The only rule is not to stop until you get the image the way you want it.
From the studio
Want this handled for you?
A dedicated designer, video editor, motion editor, and illustrator who learn your brand and ship work every business day. Flat monthly rate. Banked hours roll over for 30 days. Cancel anytime.
Keep reading
All resources →Graphic design
Graphic Design Services: What They Cover, Costs, and How to Choose
Graphic Design
Why Every Business Needs a Logo (and How to Get One That Defines Your Brand)

Graphic Design
Benefits of Good Graphics for Social Media

Graphic Design