Resources · Graphic Design
Are These Mistakes Holding Back Your Design?
By Ana Schor
February 20, 2020 · Updated June 14, 2023 · 2 min read
So you’ve just spend a good portion of your work day putting together the prefect design for a print project. The size and proportions look great, the colors are vibrant and seem to pop right off the page. You just can’t wait to show off your accomplishment to your boss and the world around. There’s only one problem: the actual end product you get back from the printing shop looks nothing like the image you had designed. Despite our best efforts, we’ve all been there before. That’s because there a number of inconspicuous errors that can seriously sabotage your print design. So let’s review some of the most common pitfalls so you can avoid the frustration in your future.
Pick The Right Font
One of the most commonly made mistakes when designing for print is using a font style that isn’t attractive, legible or appropriate for your design. Sure, a winding, romantic font might look nice to you but may not translate well to a T- shirt or a poster. Make sure whatever font you use is easy to read – even from afar if necessary (such as for promotional merchandise), and looks professional enough to represent your business.
Lack of negative space can also have a damaging effect on your design. In order for specific elements of design to stand out, they need to be contrasted with enough empty space. This applies equally to graphics as it does to text. If you’re finding the text in your design to be too tightly squeezed together, you’ll need to add back the negative space. You can do this by adjusting your kerning and leading, which is what we call the spaces between characters and individual lines. If these aren’t set right, your text could come out looking illegible and unattractive.
Adjust Your Bleed Lines
When a design extends over your designated print area, it is referred to as a “bleed.” If you don’t use an appropriate “bleed,” you could end up with awkward white spaces during the printing or cutting process. To avoid this, make sure to extend your design about 3mm past it parameters. Again, this will ensure that your design completely fills the necessary space and there aren’t any white empty spaces where the design is missing.
Increase the Resolution
Are your designs coming out looking blurry, pixelated or just plain bad? It might be that your DPI numbers are too low for the size of your image. DPI stands for
“Dots Per Inch” and has a great effect on the appearance and quality of your text and images. Generally, you want to aim for a standard of 300 DPI.
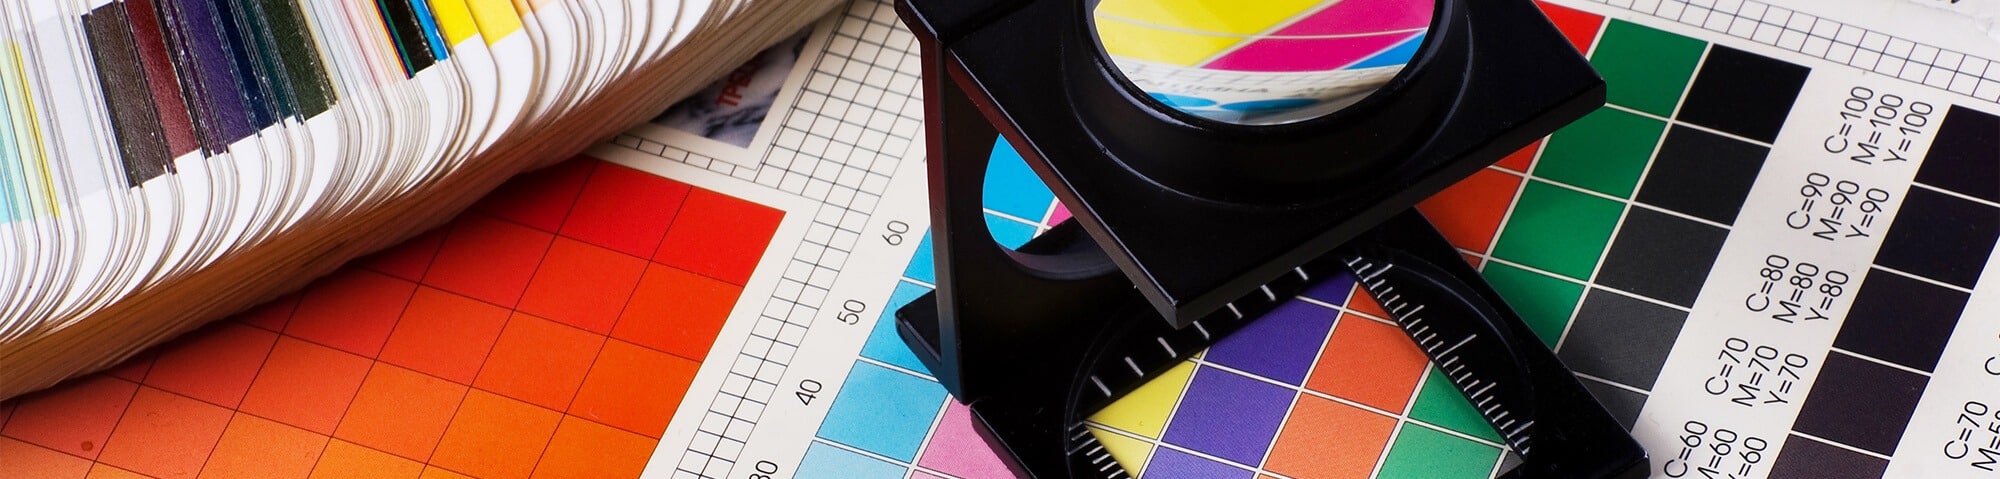
Design In CMYK Colors
Which color profile you use will make a great difference in the final outcome of your design. It’s important to know that RGB stand for “red, green, blue,” which represents the color of light used to display colors on screen. However, when it comes to prints, you’ll need to set your design up in CMYK colors. This stands for “cyan, magenta, yellow and black,” and is the standard color profile used by print shops. If you want to get the closest idea of what your image and colors will look like after printing, make sure you set up your design in CMYK.
From the studio
Want this handled for you?
A dedicated designer, video editor, motion editor, and illustrator who learn your brand and ship work every business day. Flat monthly rate. Banked hours roll over for 30 days. Cancel anytime.
Keep reading
All resources →Graphic design
Graphic Design Services: What They Cover, Costs, and How to Choose
Graphic Design
Why Every Business Needs a Logo (and How to Get One That Defines Your Brand)
Graphic Design
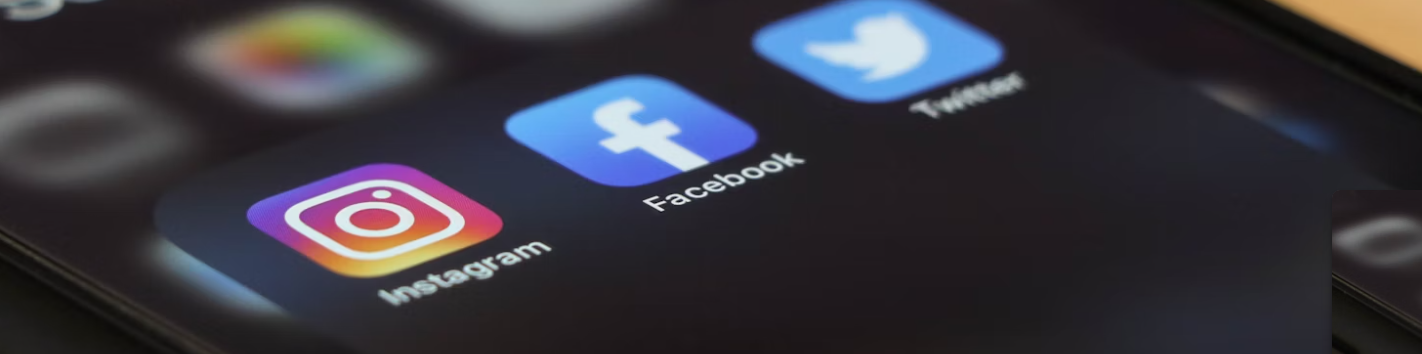
Benefits of Good Graphics for Social Media

Graphic Design