The web has opened up a wealth of self-publishing opportunities making it easier than ever for aspiring comic book creators to get their work in front of a wide audience of (hopefully) adoring fans. If you have ever dreamt of becoming the next DC or Marvel creator, now is the time to take your shot.
KERPOW!!
That being said, while there are more avenues for breaking into the indie comic world and potentially getting noticed by one of the big franchises, creating and illustrating a comic is still a massive undertaking. If you are willing to put in a little (or a lot) effort, the rewards can be well worth your time.
The guide below will walk you through the basics of the comic ideation, creation, and illustration process, so you can hit the ground running.
WHOOSH!!
Getting Started
Comics are essentially stories told through illustrations rather than words. As with any genre of the storytelling craft, there is much debate over the proper place to start. Do you need a theme and a story plot first? Should you decide on your setting and then build your story from there? Do you create your cast of characters and build the story and world around them? Here is the thing, all this back and forth about where to start only accomplishes one thing…it keeps you from getting started.
The truth is you can start working on your comic from the point that feels comfortable for you. Do you have an amazing character in mind? Awesome! Then start by describing your character, and then imagine the world in which they reside and build your story from there. Do you have visions of an amazing futuristic cityscape, that’s great too. Now figure out what type of character will exist in that world and… you got it…build your story from there. Are you starting to see a theme here? The most important part of getting started is actually getting started.
So, let’s pick a starting point and jump in!
KERSPLASH!!
Create A Character

Many comic creators have been building a character in their imagination for some time, making this a natural starting place for a lot of artists. If you have a great character idea, take some time to get them out of your head and onto paper. This exercise will help you see what areas you still need to flesh out to make your lead into a fully developed person (or creature or…).
Depending on your artistic ability, you can sketch out your main character and then write a brief bio to help you solidify who your hero, or protagonist, is and what motivates them. Take the time to jot down any details about your main character that are important to you. You will also want to think a bit about any backstory elements that will explain why your hero is on the mission that they are or acts the way that they do. Do they have any special powers or unique traits? This is the time to really build out the details to clarify the picture of your lead figure.
With your lead character decided, you can also take some time to go through the same basic exercise to create your cast of supporting sidekicks, perhaps a love interest, and an antagonist or villain as well.
Set The Scene

Do you have visions of a stunning alien landscape, a lush ancient jungle, or a modern bustling cityscape? Take some time to sketch out a few landscapes (or cityscapes) to set the scene for your story going forward. These early drawings can help you think deeper about the details and help build out your storyline by sparking ideas of what delights and challenges your cast of characters is likely to encounter as they travel through this world.
Script A Storyline
A great comic is no different than a great novel, a great movie, or a great stage performance. All of these fictional works feature a compelling storyline with an enticing or exciting hook that grabs the audience and gets them engaged in learning how the story will play out.
With that in mind, you can approach the early storytelling stage in the same way that any author or screenwriter would. Start with a hook. Why is your hero on this journey? Why should the reader care? Once you have this one core premise, you can script out your storyline in the usual fashion. Introduce your cast of characters, explain the conflict or challenge they are attempting to overcome or triumph over, and then build out the adventures until their ultimate victory (or defeat).
Now, here is where the storyline creation process takes a sharp turn. A comic uses illustrations to tell the story. Sure, there are short blocks of explainer text and dialogue between the characters, but the bulk of the narrative is carried by the artwork itself. You will need to write out a basic script as if you were writing a screenplay with live-action characters and then transfer that script into a comic-style framework in the next step.
Form Your Framework
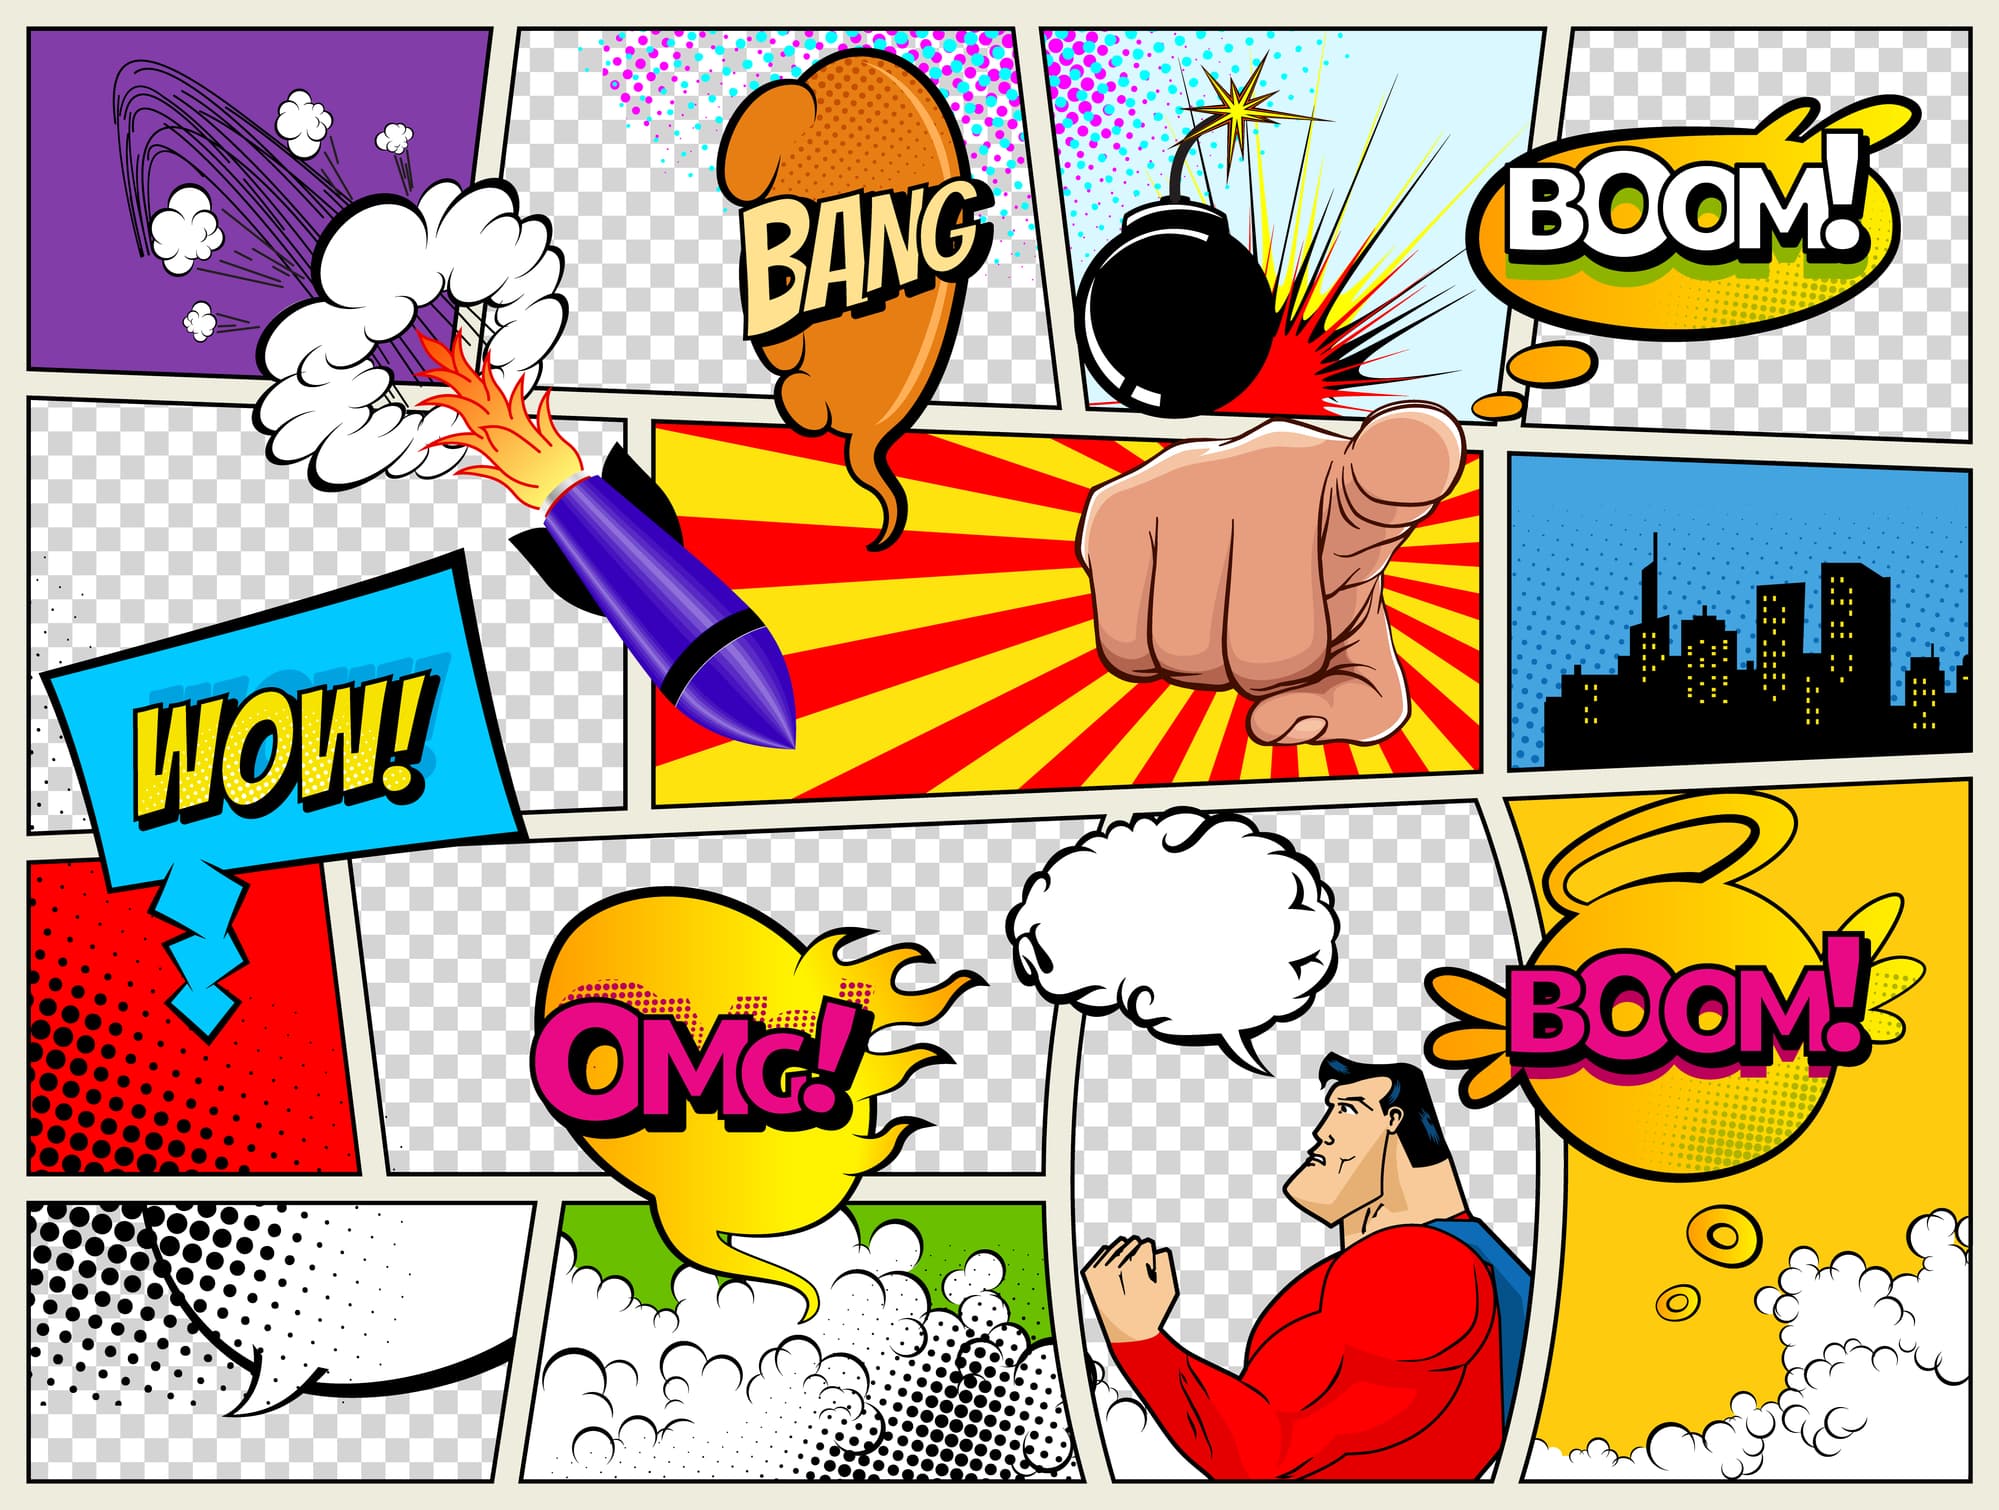
Comics and graphic novels tell a complete story through individual illustrated scenes known as panels. These panels are generally formatted as individual boxes that are “read” in progression from left to right and top to bottom of the page as if they were written words telling a story.
There is no hard and fast rule for the number or size of the panels you use for your comic. What is important is how well your panels flow from one to the next. Unlike live action or animation, where every action is viewed by the audience, in a comic, your scenes must depict key activity and dialogue that will allow the reader to fill in the gaps between one panel and the next with their imagination. The trick here is determining how much detail you need to include in each panel to enable the viewer to follow along and keep the story flowing at an invigorating pace. Too many panels packed with too much information will feel cumbersome for the reader. Too few panels and too little information can leave your readers confused about how your characters got from one scene to the next.
Storyboards are a great tool to help you work out the best format for your comic and help you ensure that the storyline flows properly before you dig into the comic illustration process. We will discuss how to use a storyboard to sketch out your comic script in the next step.
Sketch It Up
This is where the fun really starts. It is time to start pulling the project together. This is an exciting time when you will begin to see your comic start to take its final form. In this stage, you will use your storyboard, a comic panels template, or a freehand sketch of panels to begin to sketch out your scenes in each panel. Pay attention to detail here as these sketches will be the foundation for your final comic illustrations.
You can start with light pencil sketches to decide how your script will be depicted in each panel. Once you are satisfied with how the story flows from panel to panel, you can go back through and add background scenes and flesh out the details of your characters. Remember to leave space in each panel for thought or speech bubbles or explainer text where needed.
Finishing Your Comic Illustrations
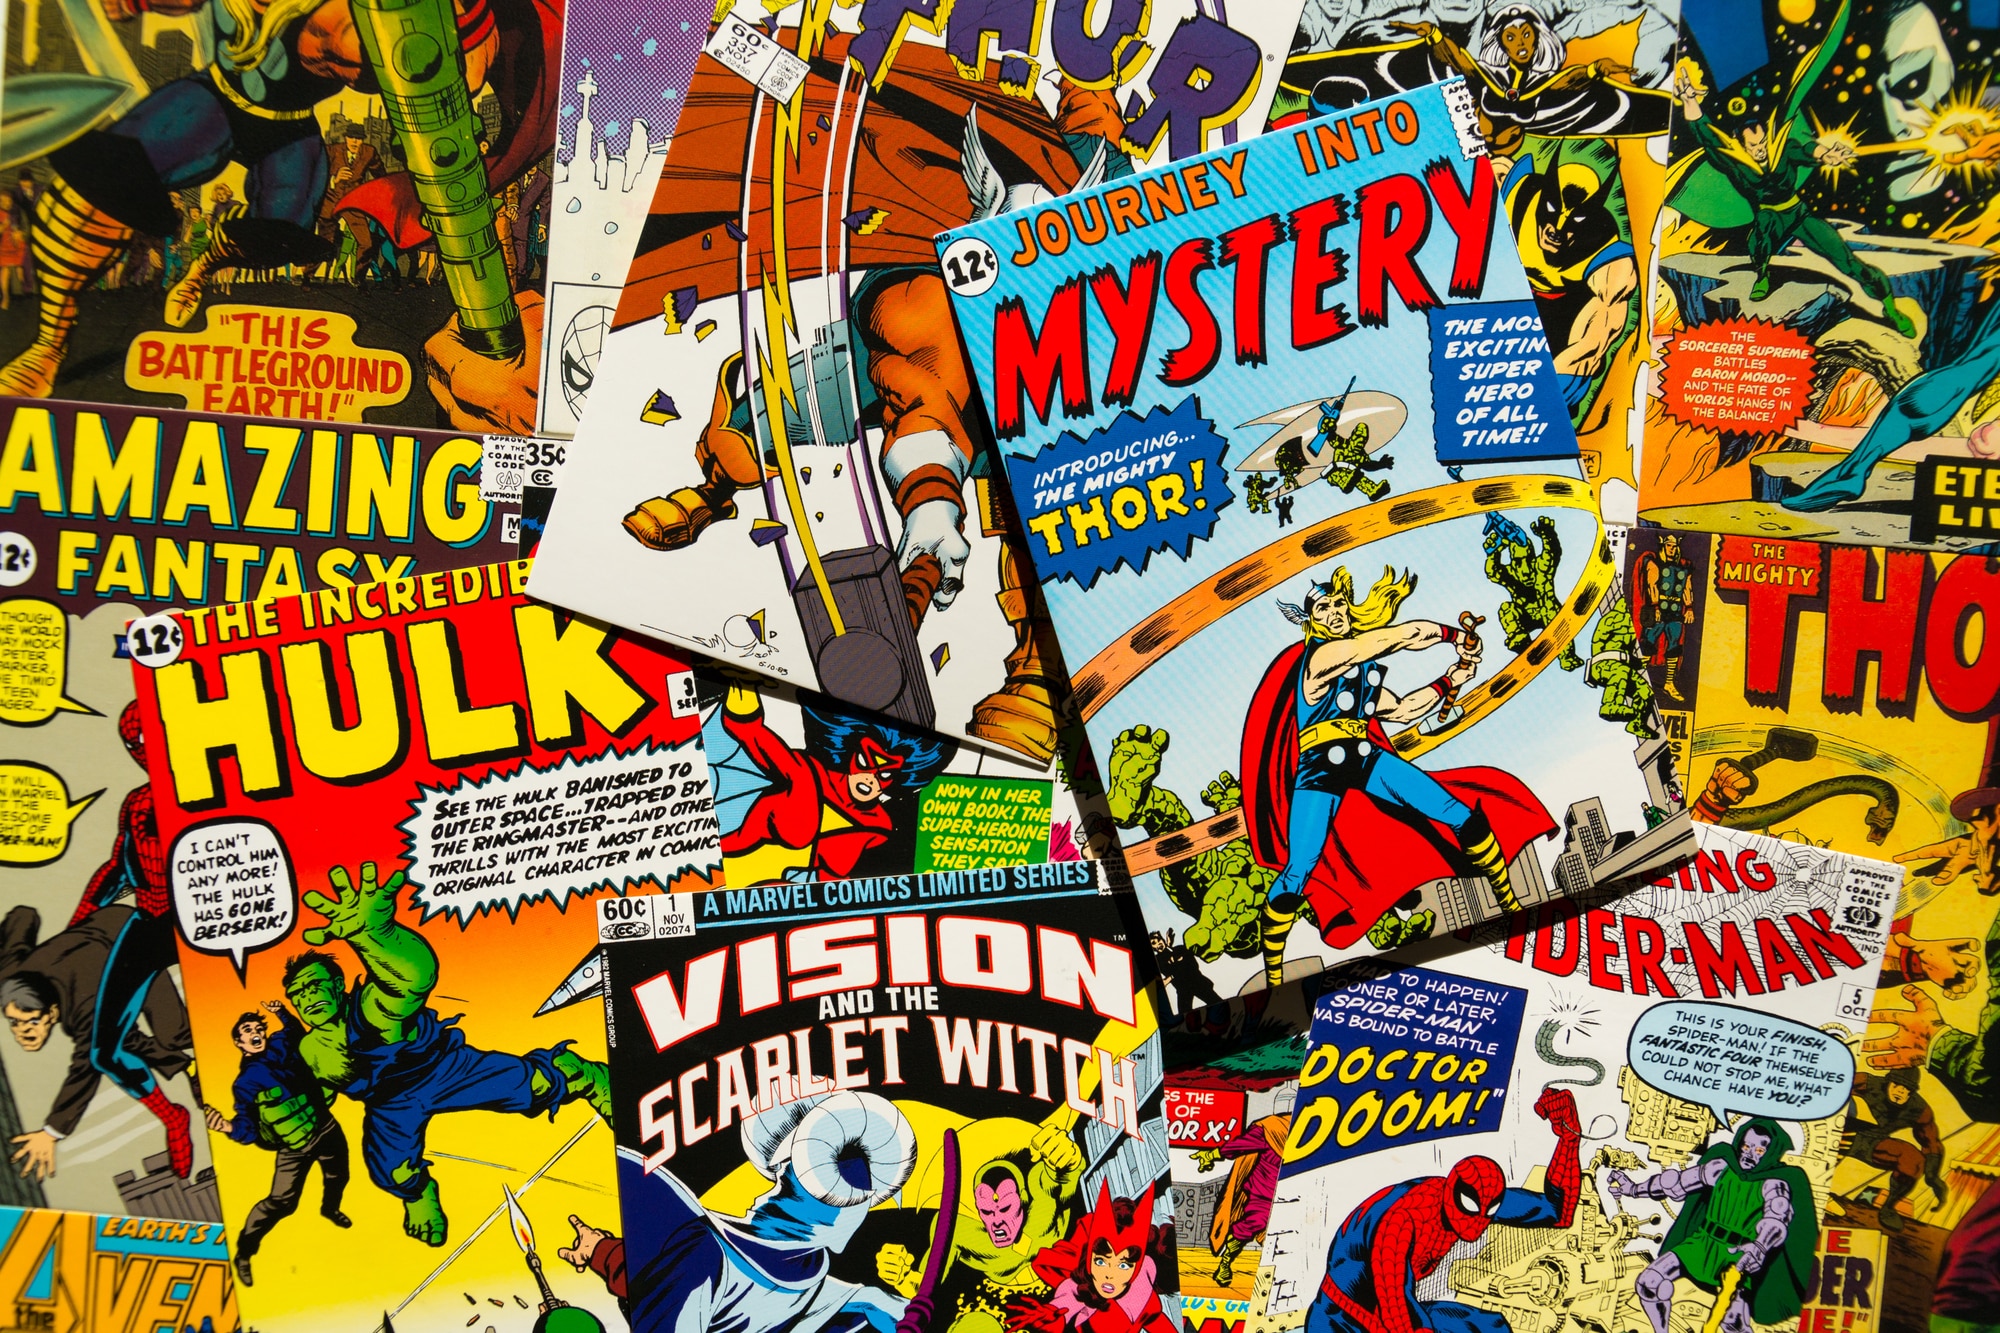
SHAZAM!! You have made it to the final stretch. By now, you should have a fully-formed comic sketched up in its entirety. It is now time to turn your rough sketches into eye-popping comic illustrations.
This is the stage where you will refine the artwork in each sketched panel by adding the fine details, sharp ink lines, vivid colors, and visual textures that the comic style is known for. Even if you are going for a noir or vintage style comic in black & white, you will still need to blend in shading and texturize your illustrations to make the scenes pop off the page.
Getting Amazing Comic Illustrations

Do you have an amazing idea for a comic or graphic novel but are not sure that your illustration skills are up to the challenge? Do you simply want another set of talented hands to help shoulder the (sizable) workload of illustrating a comic? No worries! You have several pathways to help you get the awesome comic illustrations you need to finish your comic.
Now, the big comic franchises and publishing houses employ in-house teams of comic illustrators tasked with creating the amazing art you see in these classics. Hiring your own full-time illustration team is not cheap, and this is generally not an option for the average indie comic writer. So, let’s move on to more practical choices.
Your next option is partnering with a freelance artist. This can be a much more affordable option, and there are a lot of seriously talented freelancers out there. The tricky part is finding the right artist for your project at the right price. Freelance marketplaces offer a massive pool of freelance creatives to choose from, but vetting the experience and professionalism of each individual artist can be difficult, and the results can often be hit-or-miss. Some report amazing collaborations with amazing artists, while others tell tales of paying large sums only to be left with half-completed work after being ghosted by their freelancer partway through their project.
For most, signing up for an unlimited design service like Flocksy offers the highest-quality work, from reliable artists, at the most affordable price. Best of all, Flocksy offers a full slate of unlimited creative services, including illustrations, video editing, copywriting, graphic design, and much more, all under one roof and all for one monthly flat rate. While you may be focused on illustrating your comic now, you will likely need several of these other creative services to help you market and promote your finished comic when you are ready to publish your work.
Using Flocksy To Create Comic Illustrations

It is easy to get all of the comic illustrations you need with Flocksy’s unlimited design services. Simply choose your monthly subscription package, log in to your account, and start requesting your projects immediately.
Flocksy’s user-friendly website is super simple to use. Just head over to the Custom Illustrations menu, choose the Comic Illustrations category, and click to start your first request. An intuitive project brief will guide you through the process of providing all the information that your illustrator will need to get started. Flocksy takes collaboration and communication seriously, so you can rest assured that you will always be able to interact with your illustrator and a dedicated project manager to share your vision, request as many revisions as you need, and refine the final results until you are completely satisfied.
Because Flocksy offers unlimited design services, you can load up your project queue with as many comic illustration requests as you need. Your illustrator will continue to power through your requests with an average turnaround time of 24 to 48 hours for each illustration. As soon as one illustration is completed and approved, your illustrator will immediately start on the next until your comic is complete and ready for publishing.
KABOOM!!
