Resources · Business
How to Edit Videos Simply
By Sharon
May 21, 2020 · Updated May 19, 2020 · 3 min read
- Use editing software to create new videos.
- You can organize, cut, and add features to your videos.
- Put your finished video on the Internet.
New content is created every day, and video editing is an invaluable skill to learn in order to produce a video. Good editing can contrast the difference between a professional video that engages your audience and a substandard one that does not.
Choosing Your Editing Software
First, you’ll need to choose which editing software you’d like to use. For the novice video editor, it may be simpler and more helpful to start with a user-friendly program such as the YouTube video editor or iMovie. These programs will give you the tools you need to edit your videos using basic and practical features.
For the advanced video editor, you’ll have access to more editing options and fancier features with professional programs such as Final Cut Pro X, Adobe Premiere Pro, or Avid Media Composer. There is no right or wrong answer – you should choose whichever software you’re more comfortable using and the one that’ll allow you to complete your work the quickest.
Organize Your Clips
Before you start editing, you’ll want to make sure your video and audio clips are organized in a folder. This will be a less stressful way of making sure you have the clips you need in a place you know how to access. It’s a good idea to back up these clips onto an additional hard drive. Start up the editing program and open up a new project file, where your video will be created.
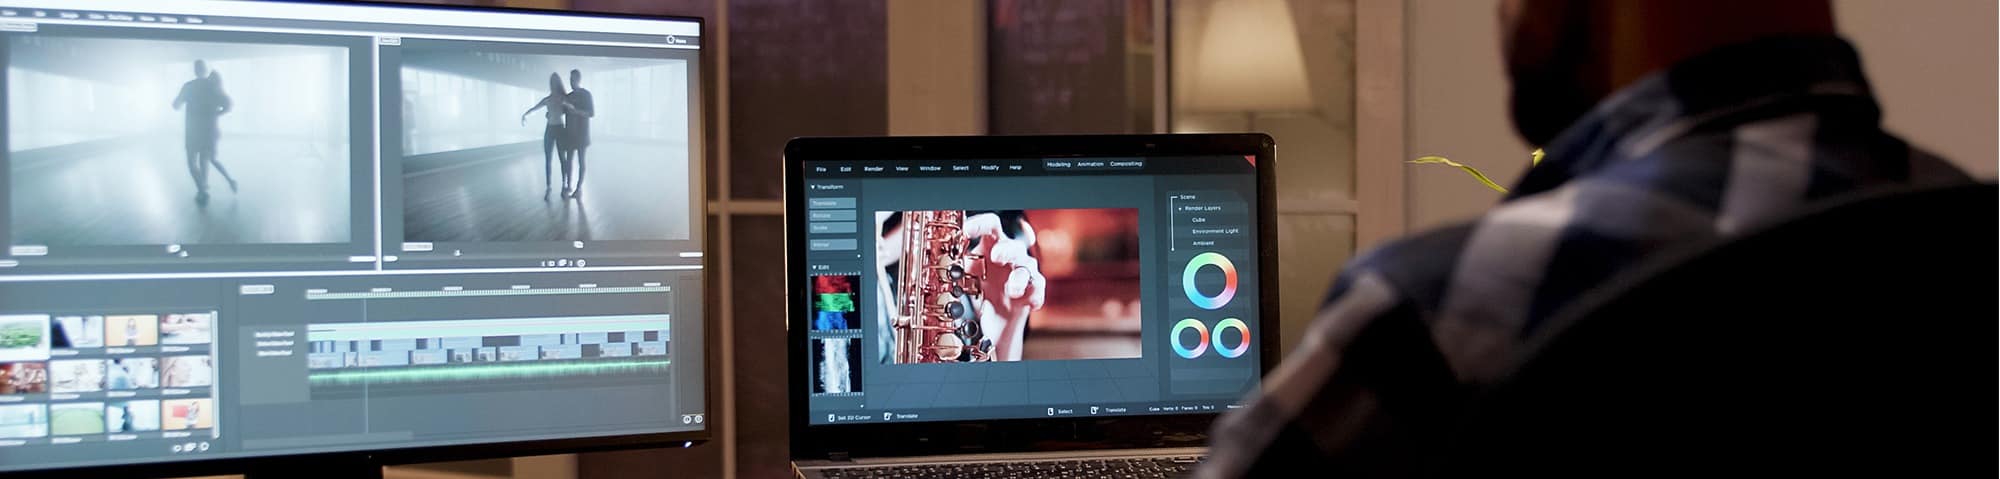
Then take the video and audio clips from the folder and drag them onto the program’s timeline (the area where you’ll be editing your clips). You’ll have to make sure your video and audio clips are synchronized together so that they play in sync (a program like PluralEyes can do this for you).
Cut the Footage
This is where you’ll go through your footage and see which moments can be cut out of the video. You may have multiple takes of the same clip – just use the one you feel is best.
First, you’ll want to cut the moments just before the action in the clip starts and right after it ends. Then you’ll want to cut out any moments where a mistake was made during the clip or if there are any unnecessary pauses. In order to make sure the project flows nicely and is entertaining to watch, you’ll only want to keep the clips that are essential for the video to work well.
You can also re-arrange the clips and add any B-roll footage (additional footage that can complement the main video clips) or music clips as well.
Add Titles and Transitions
Using transitions – such as a dissolve or fade – can help ease your viewers into a new clip and give your video a professional look. Titles can also be added to bring text into your video – whether it’s names, places, or other information.
Export the Video
When the editing is complete, find the export setting in your program and be sure to click on it. After this, your video will be complete!
It will finish as a separate video file and you are free to upload it to websites like YouTube or Vimeo or email it to others using a program like on Google Drive.
From the studio
Want this handled for you?
A dedicated designer, video editor, motion editor, and illustrator who learn your brand and ship work every business day. Flat monthly rate. Banked hours roll over for 30 days. Cancel anytime.