Resources · Business
The Basic Steps of Video Editing
By Ana Schor
February 20, 2020 · Updated March 6, 2020 · 4 min read
There are an endless number of reasons you might be looking into shooting and editing your own video. Whether you’re looking to document a family vacation, market a product in an engaging, new way or simply want to try your hand at filmmaking, you’ll likely need to go through the process of video editing. Sure, you can choose to outsource this important step in the production, but if that isn’t in the cards or you simply want to learn the skill yourself, you’re in luck! Today’s technology affords us the best in video editing equipment at the comfort of our very homes – well in theory, anyway. The equipment might be at our fingertips, but many of us who try to use advanced video editing software end up confused and intimidated. That’s why we’ve put together an overview of basic video editing steps that’ll hopefully demystify the process.
Set Attainable Goals
Before you get started, perhaps the first thing you should consider is your end goal. As you’re setting out your goals, try to keep things realistic and somewhat in-line with your skill level. For example, if you’re a beginner editing vacation footage or a home movie, you might not need particularly complex visual and audio effects. With that said, most of us consume enough television and film footage that we’ve set our expectations fairly high. For instance, we’ve come to expect any serious video to have a title shot, a fairly high amount of shots, and some decent transitions and sound quality.
Shoot The Video
Obviously, in order to edit a video you need some footage to work with. You can download free videos from the web to work on your editing skills, but you’ll likely soon want to shoot unique content. It’s worth mentioning that most new iPhones also take spectacular quality videos, so you may not even have to purchase a camera for this. There are also hundreds of options out there fore video cameras and camcorders. Nearly all of these include a FireWire, which allows you to later load the video directly onto your computer. You may also want to invest in a decent microphone to optimize your sound and avoid excessive background noise or echoing.
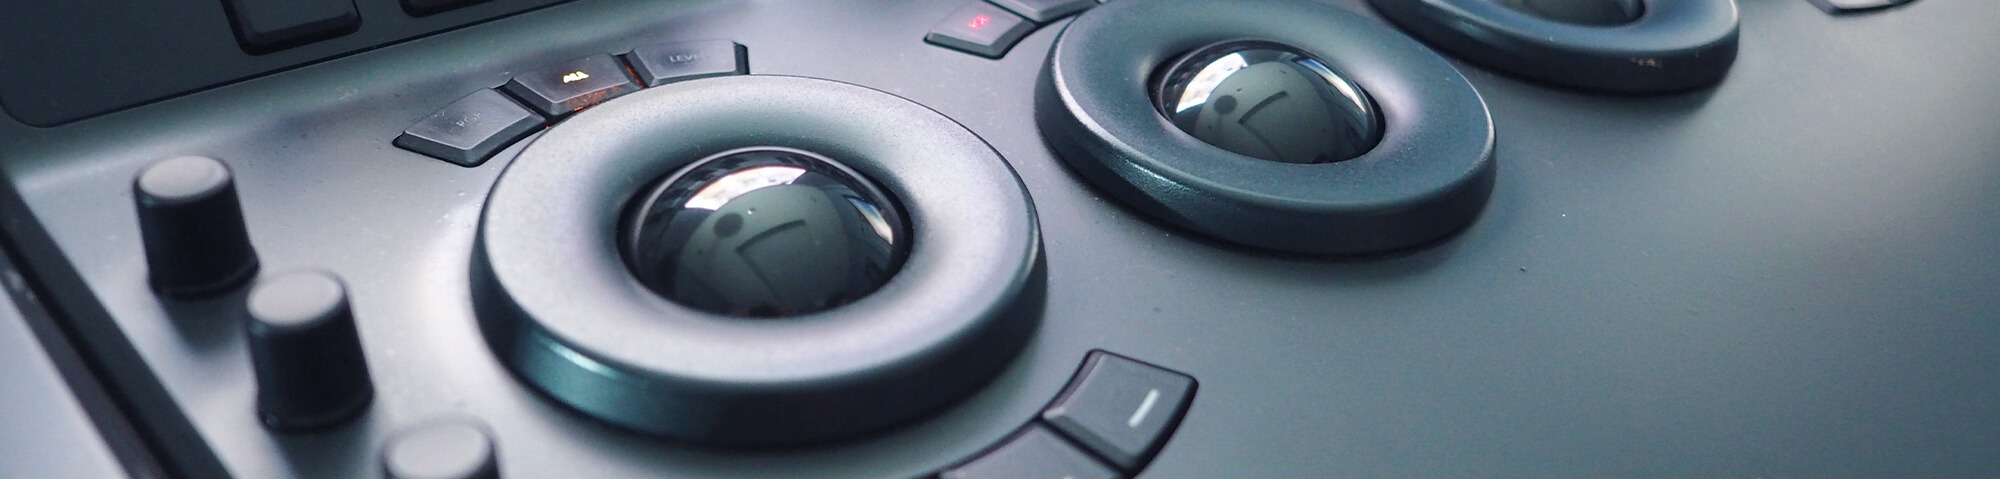
Uploading To Computer
Just about any computer or desktop will work with video editing if it has enough CPU power, space on its hard disk and bandwidth to handle the processing. You’ll really appreciate a higher speed computer during this stage because it can
take care of a task that lasts 3 hours on a slower computer in a matter of 30 minutes.
You will also need the proper software to edit your video downloaded to that computer. If you’re using a computer such as Windows XP, Apple or Sony, it may come with its own proprietary software already in place. Another very popular option is Adobe Premiere, which should allow you to do almost anything on your editing wish list. While the details of the editing process will depend on each individual program, there are basic concepts that will help you understand and start using your editing software.
Basic Editing Concepts
Now that you’ve got your video footage and your computer and software in place, let us get to the basic steps in the editing process.
Capture: Capturing means loading your footage onto your computer’s hard disc. You’ll need to connect your camcorder or video camera to your computer via the FireWire jack. Depending on how much time you have to dedicate to this process, you can choose to capture your footage in one large file or multiple smaller ones. This can even be broken down frame-by-frame if you have lots of time to spare. The capture process creates AVI files on your PC and MOV files on Macs, which will contain your video in frame-by-frame mode, at its highest available resolution. You may need to make room for these files on your hard drive.
Shots: Shots are the various clippings of your video that you want to edit together into a single movie. Depending on your project, you may need different vantage points to clearly portray a plot, or to capture details in an instructional video. You can naturally edit together your shots by toggling the “IN” and “OUT” markers on each portion of your video. This lets you adjust the exact size and length of each shot, and then easily drag those clips together in, what’s called, a Timeline.
Timeline: The timeline is the space where you arrange your shots and eventually string them together. It also lets your review your video as it’s developing. Within timeline you’re able to mix up and divide your shots as you see fit, and even add transitions between each shot. This is the space where you can add any number of videos and audio files to your final project. Using these three concepts alone will let you create an actual movie.
From the studio
Want this handled for you?
A dedicated designer, video editor, motion editor, and illustrator who learn your brand and ship work every business day. Flat monthly rate. Banked hours roll over for 30 days. Cancel anytime.